How to Clean Your Cat’s Ears and Keep Them Calm and Comfortable: A Step-by-Step Guide for Pet Owners
Cats usually keep their ears clean on their own, but sometimes they need your help. Cleaning your cat’s ears at home requires a gentle, step-by-step approach using the right supplies and techniques to keep your cat calm and prevent injury. Knowing when and how to clean your cat’s ears can prevent infections and keep your pet comfortable.
Many cat owners feel unsure about handling ear care. You might worry about hurting your cat or making them stressed during the process. This guide will walk you through everything you need, from gathering the right supplies to recognizing signs that cleaning is needed.
You’ll learn how to spot problems like ear mites, manage your cat’s anxiety during cleaning, and understand when it’s time to visit the vet. With the right approach, ear cleaning can become a calm routine that protects your cat’s health.
Essential Supplies for Safe Cat Ear Cleaning
Getting the right supplies makes cat ear cleaning easier and safer for both you and your pet. You need a vet-approved cleaner, proper wipes, and soft materials that won’t hurt your cat’s sensitive ears.
Choosing a Vet-Approved Ear Cleaner
A vet-approved ear cleaner is the most important supply for safe ear cleaning. These cleaners are designed specifically for cats and won’t irritate their delicate ear canals.
Look for cleaners that contain gentle ingredients. Avoid products with alcohol, hydrogen peroxide, or vinegar, as these can cause pain and damage to your cat’s ears.
Your vet can recommend the best cleaner for your cat’s needs. Some cats need cleaners for wax buildup, while others need solutions that help prevent infections. Never use human ear cleaning products on your cat.
Store-bought pet ear cleaners should list all ingredients clearly. Choose products from trusted brands that veterinarians recommend for routine ear care.
Using Cat Ear Cleaning Solutions
Cat ear cleaning solutions work by loosening dirt and wax inside the ear canal. You apply the solution directly into your cat’s ear, massage the base, and let your cat shake their head to remove debris.
Most solutions come in squeeze bottles for easy application. Hold the bottle upside down and squeeze gently to fill the ear canal with the cleaning solution. You’ll need enough liquid to properly clean the ear, but not so much that it overflows.
Proper ear cleaning technique involves massaging the base of the ear for 20-30 seconds. This helps the solution reach deep into the ear canal where wax and dirt collect.
Let your cat shake their head after massaging. This natural action brings loosened debris up to the outer ear where you can wipe it away. Keep a towel nearby to catch any solution that sprays out.
The Role of Hepper Wash Wipes and Other Wipes
Hepper wash wipes and similar pet-safe wipes are useful for cleaning the outer parts of your cat’s ears. These wipes remove visible dirt and wax from the ear flap and outer ear canal without going too deep.
Pre-moistened wipes offer convenience and consistency. Each wipe contains the right amount of cleaning solution, so you don’t have to measure or mix anything yourself.
Look for wipes that are:
- Hypoallergenic – Won’t cause allergic reactions
- Fragrance-free – Strong scents can bother cats
- Alcohol-free – Prevents stinging and irritation
- pH-balanced – Matches your cat’s skin chemistry
Wipes work well for regular maintenance between deeper cleanings. You can use them weekly to keep your cat’s ears fresh and check for any problems.
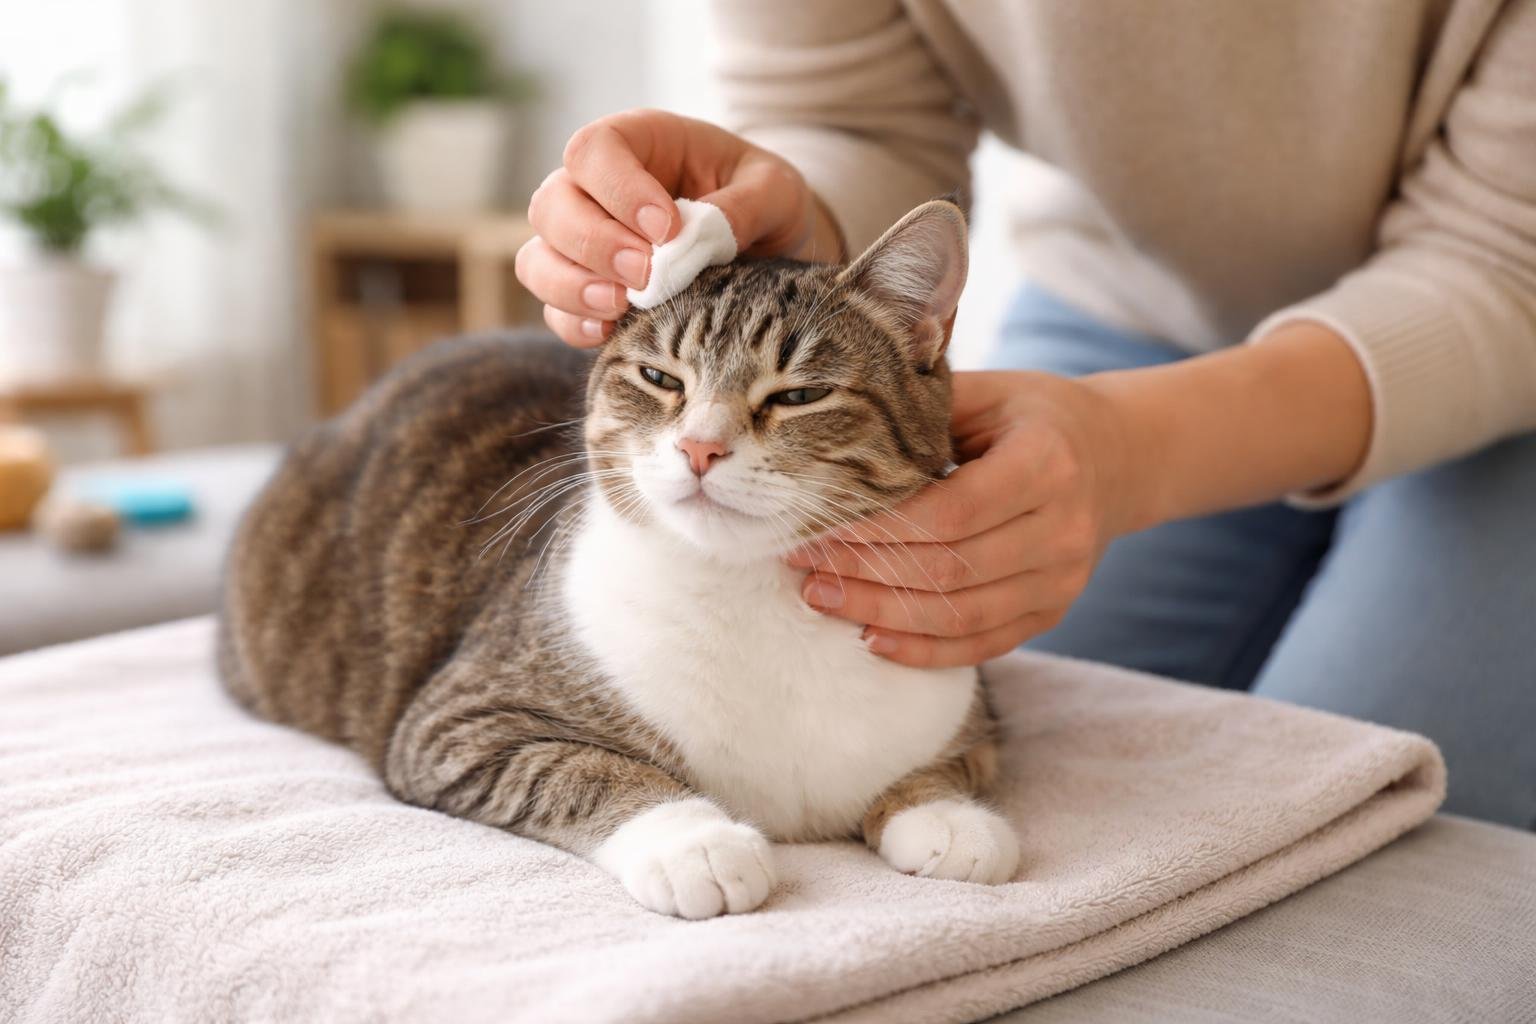
Importance of Soft Cleaning Materials
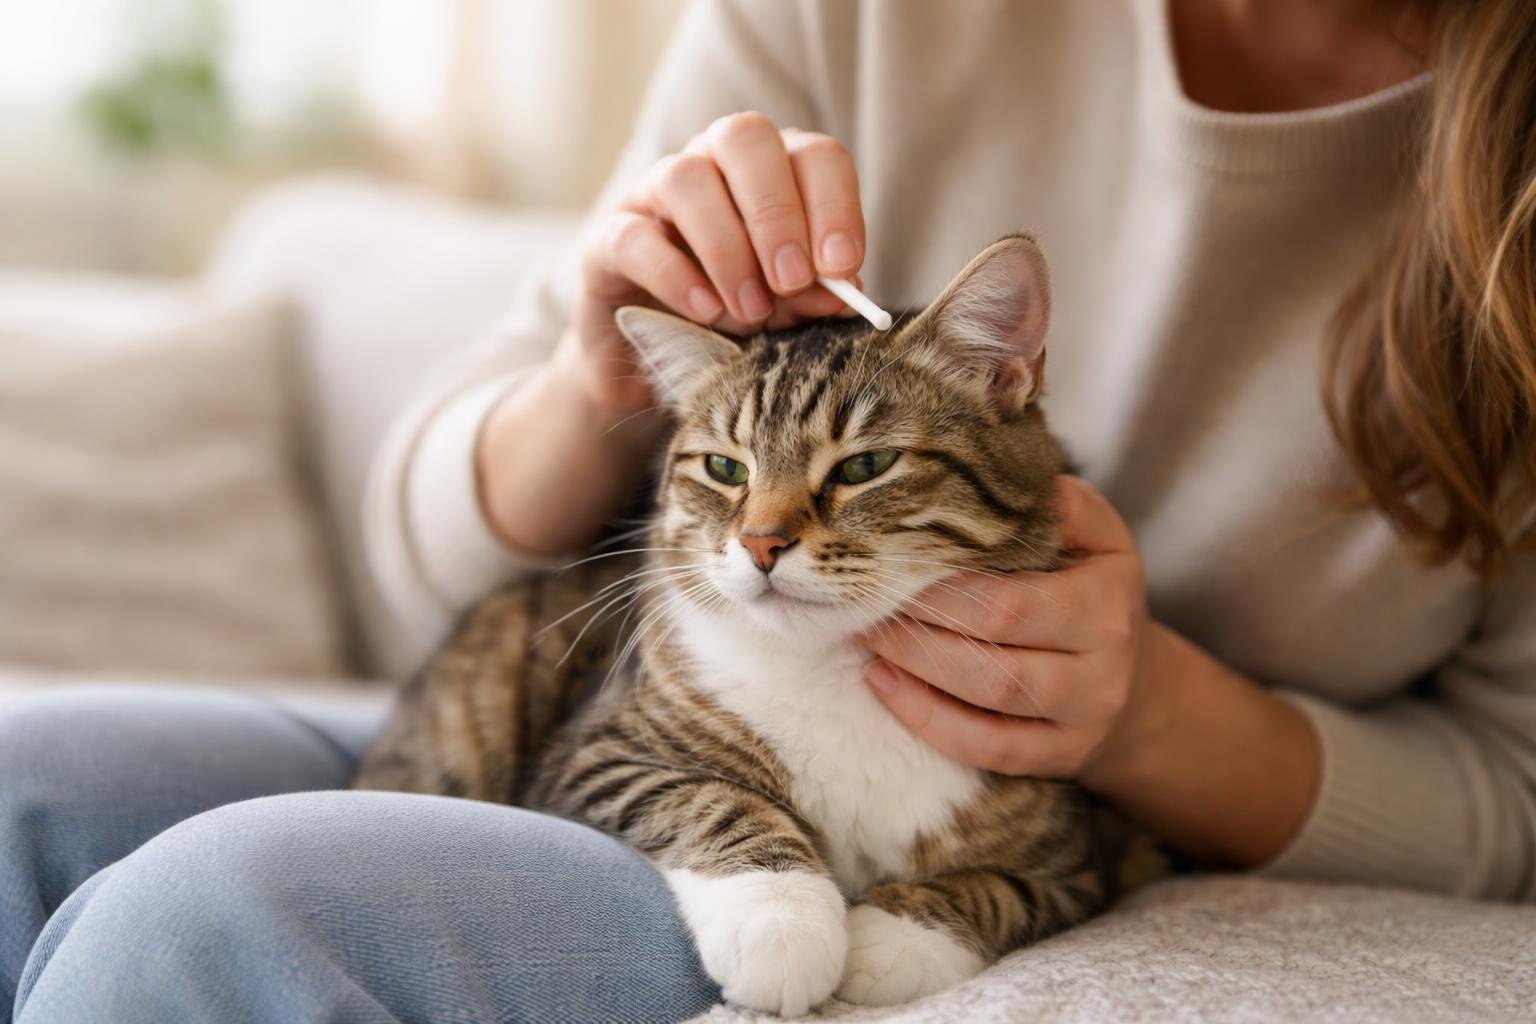
Soft materials protect your cat’s ears from scratches and irritation during cleaning. Never use cotton swabs or Q-tips, as they can damage the eardrum or push debris further into the ear canal.
Cotton balls and gauze pads are the safest choices for wiping ears. These materials are gentle enough for sensitive skin but sturdy enough to remove dirt and wax effectively.
Wrap cotton or gauze around your finger when cleaning the outer ear. This gives you better control and prevents you from inserting anything too deep into the ear canal. You should only clean the parts of the ear you can see.
Keep separate materials for each ear to avoid spreading bacteria or infection. Throw away used cotton balls and gauze after each cleaning session.
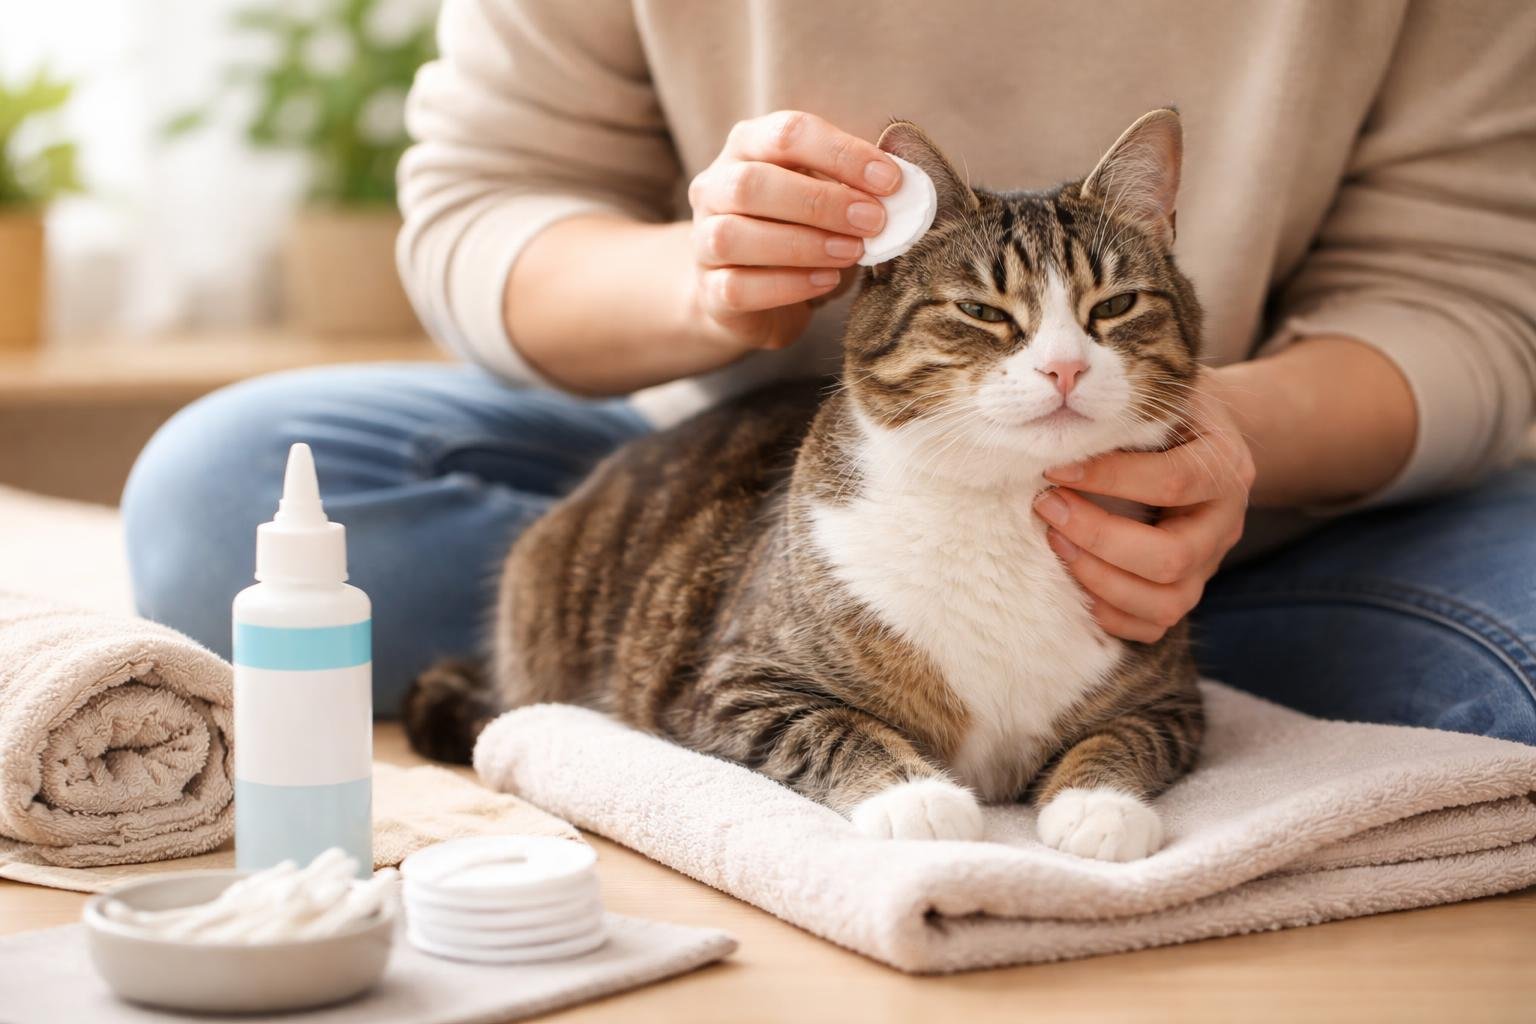
Step-by-Step Guide to Cleaning Your Cat’s Ears
Proper cat ear cleaning requires the right supplies, gentle handling, and a calm approach. You’ll need to prepare your cat carefully, apply cleaning solution correctly, use soft wiping techniques, and reward good behavior throughout the process.
Safely Preparing Your Cat
Choose a quiet room where your cat feels comfortable and secure. Pick a time when your cat is naturally calm, such as after a meal or play session.
Gather all supplies before you start. You’ll need a vet-approved cat ear cleaning solution, cotton balls or gauze pads, and treats for rewards. Avoid using cotton swabs, as they can damage the ear canal.
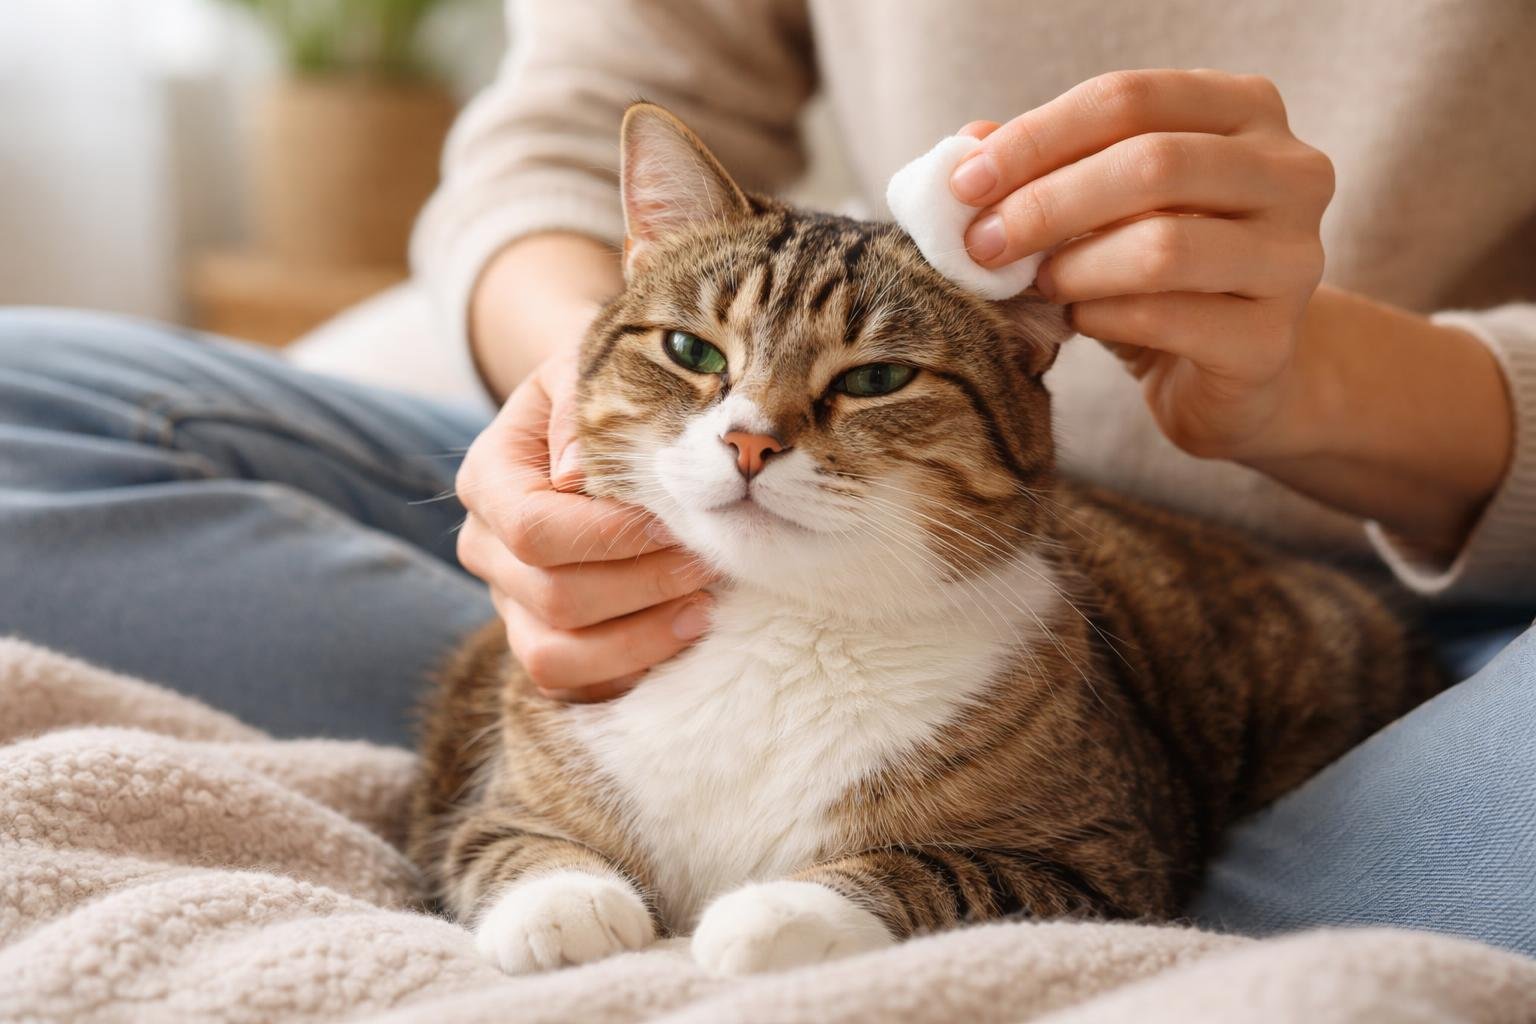
Gently wrap your cat in a towel if needed, leaving only the head exposed. This technique helps keep your cat still and prevents scratching. You can also ask someone to help hold your cat steady.
Let your cat sniff the cleaning supplies first. This helps reduce anxiety about unfamiliar items. Speak in a soft, reassuring voice throughout the preparation.
Applying Cat Ear Cleaning Solutions
Hold the ear flap gently and lift it upward to expose the ear canal. Fill the ear canal with the cat ear cleaning solution, following the product instructions for the correct amount.
Most solutions require 5-10 drops per ear. The liquid should fill the canal without overflowing. Don’t let the bottle tip touch the ear to prevent contamination.
Massage the base of the ear gently for 20-30 seconds. You should hear a squishing sound as the solution breaks up wax and debris. This step is important for loosening buildup deep in the ear canal.
Your cat will likely want to shake their head after you release the ear. Let them do this, as it helps bring debris up to the surface where you can wipe it away.
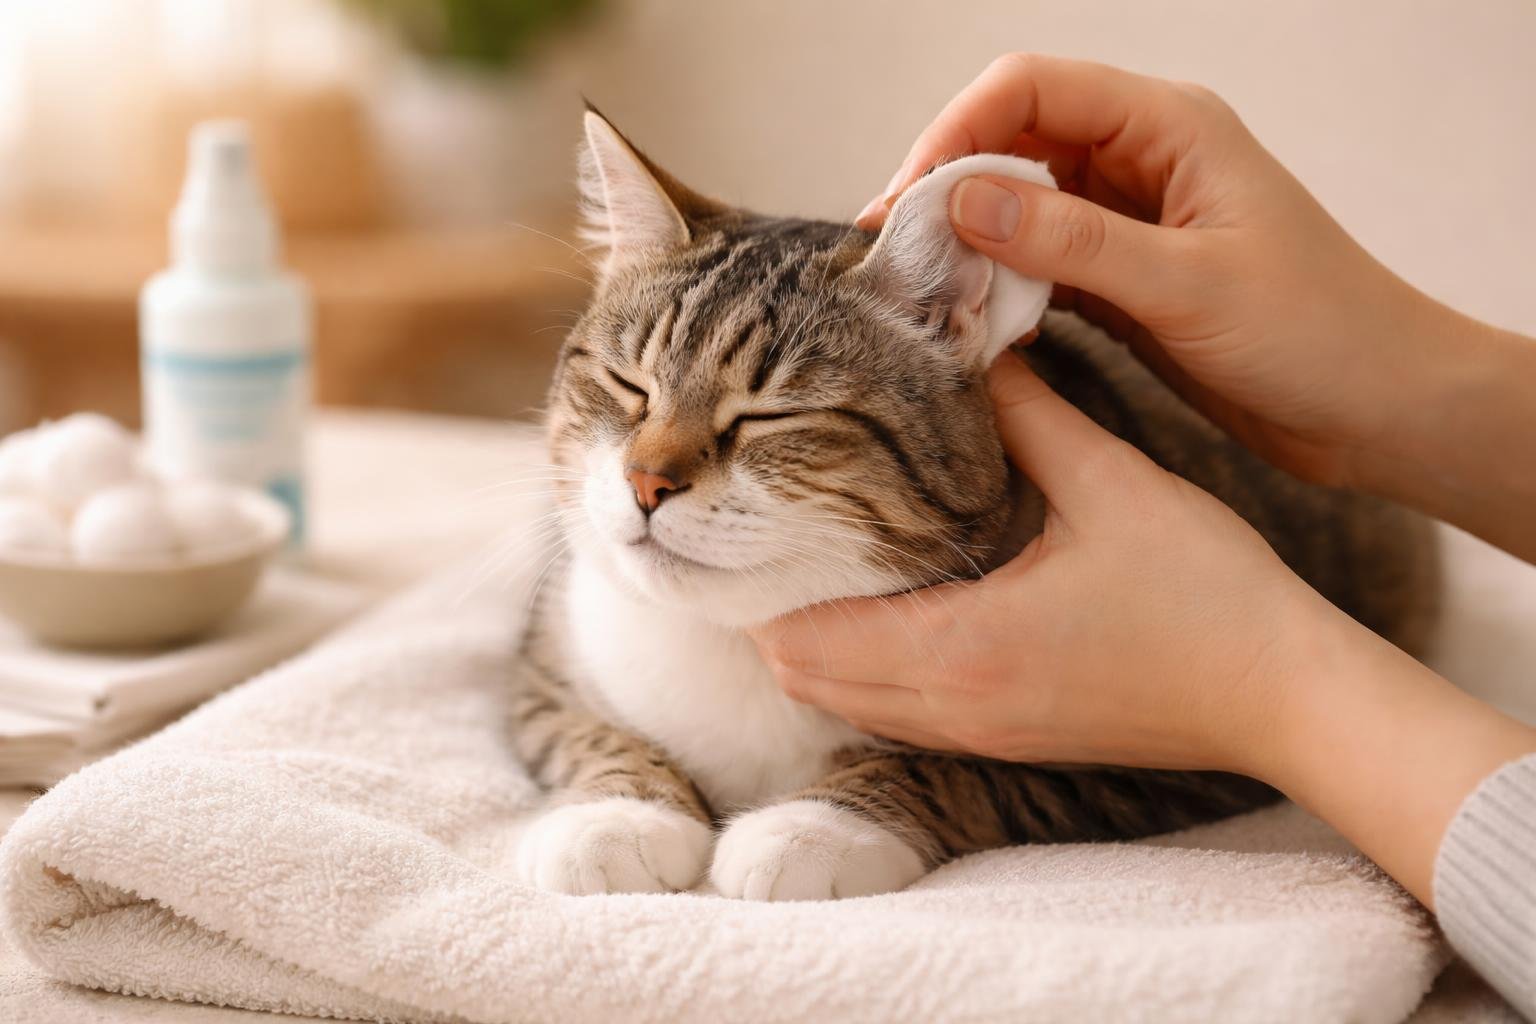
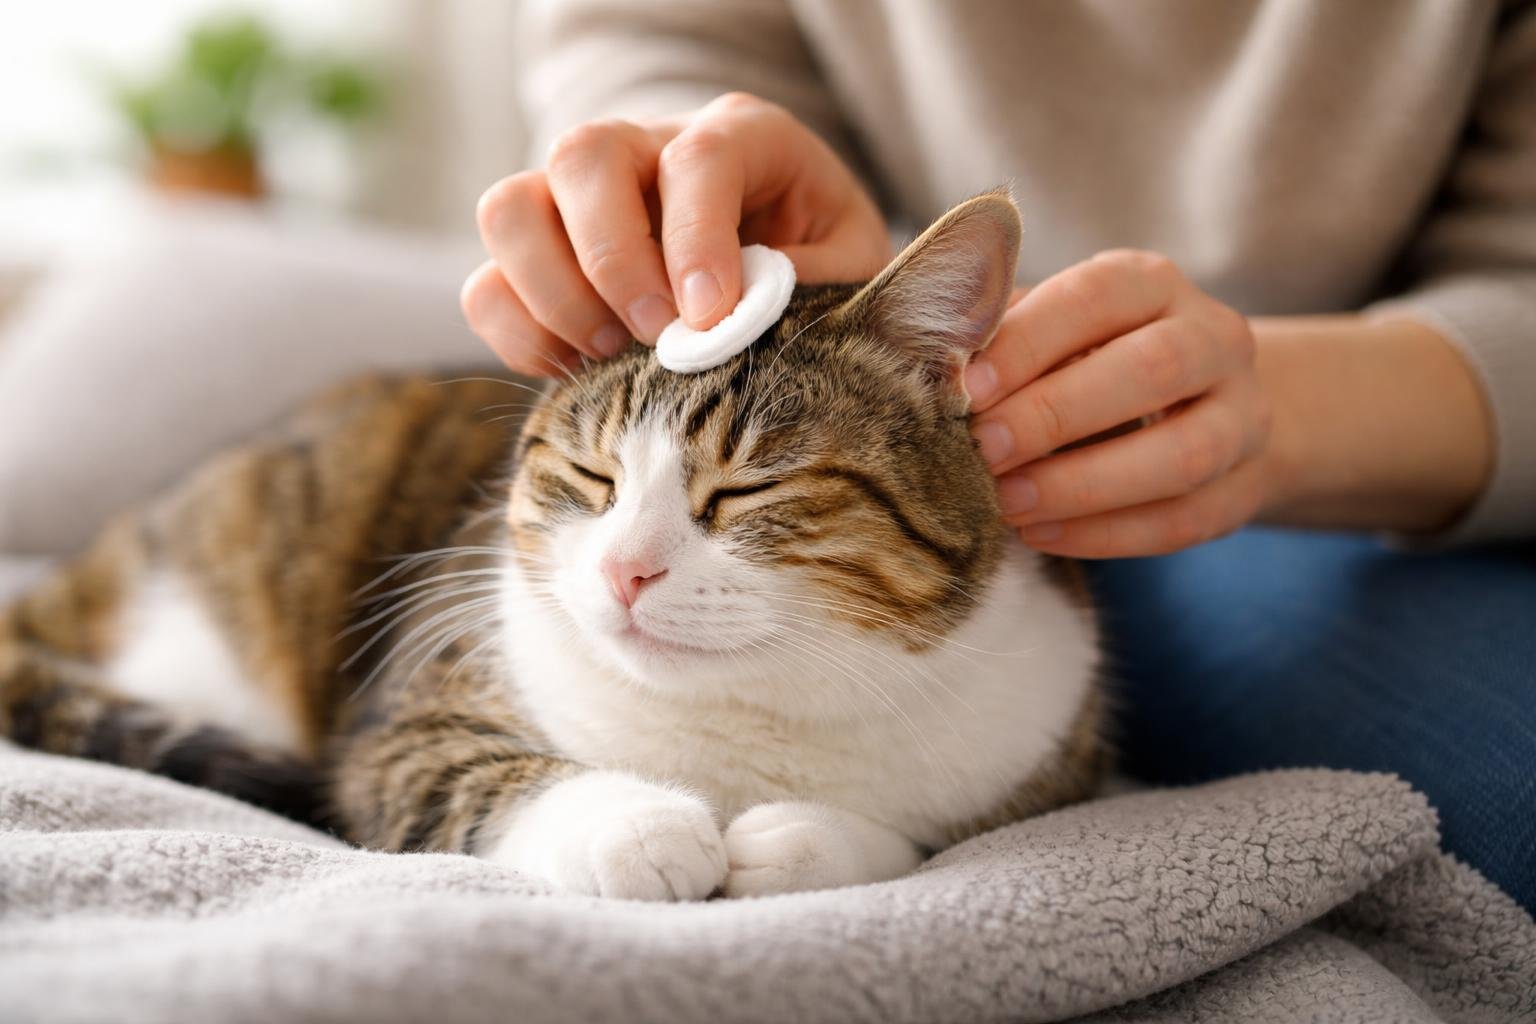
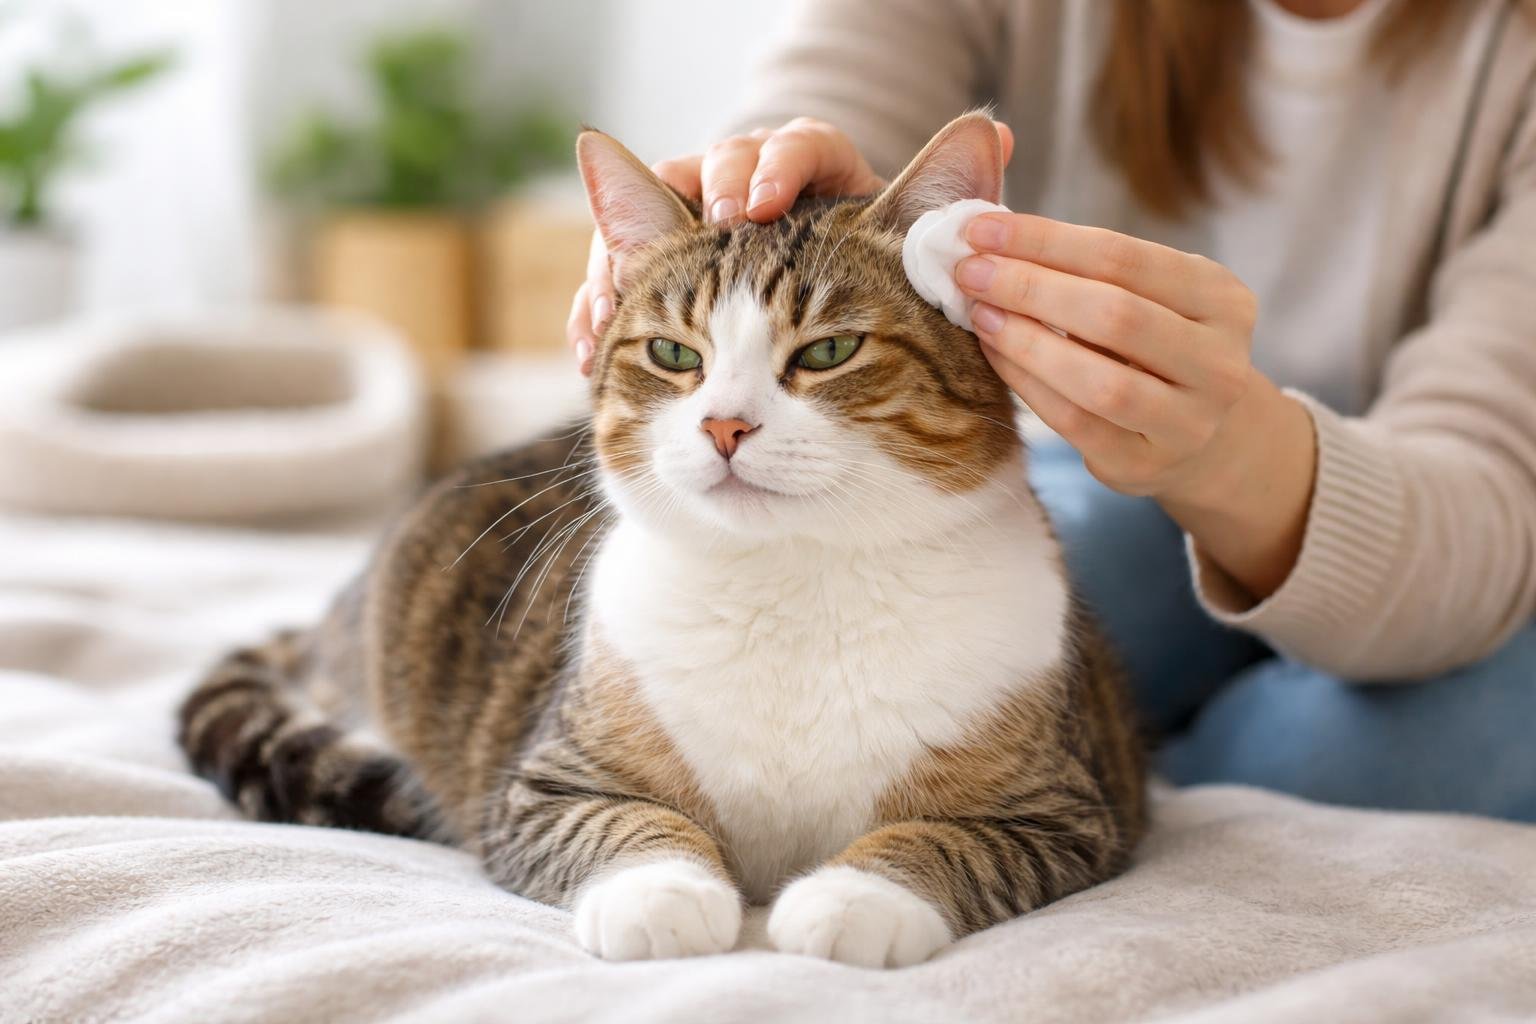
Gentle Techniques for Wiping and Massaging
Use a cotton ball or soft gauze pad to wipe the outer ear and visible part of the ear canal. Never push deep into the ear canal. Only clean what you can see.
Wipe in gentle, outward motions to remove loosened wax and debris. Use a fresh cotton ball for each ear to avoid spreading bacteria. Hepper wash wipes or similar products work well for the outer ear area.
The ear should look pink and clean when you’re done. Some yellowish or light brown wax is normal. Dark brown or black debris may indicate ear mites and requires a vet visit.
Check both ears and repeat the process on the second ear. Work quickly but gently to minimize stress for your cat.
Rewarding and Comforting Your Cat
Give your cat a treat immediately after cleaning each ear. This creates a positive association with the process.
Praise your cat in a happy, upbeat voice. Pet them in their favorite spots to help them relax. Some cats enjoy playtime as a reward instead of treats.
If your cat becomes too stressed, take a break. You can finish cleaning the second ear later or try again the next day. Forcing the process can make future cleanings harder.
End the session on a positive note, even if you didn’t complete the full cleaning. Building trust takes time, and patience leads to easier ear cleaning sessions in the future.
Recognizing When Cleaning Is Needed
Cats don’t need frequent ear cleanings, but knowing when your cat’s ears need attention helps prevent problems. Regular checks let you spot issues early and determine if cleaning is necessary.
Routine Ear Inspections
You should check your cat’s ears once a week during regular grooming sessions. Look inside the ear flap and the visible part of the ear canal. Healthy cat ears look pale pink with minimal wax buildup.
A small amount of light brown or tan wax is normal. The ear should not have a strong smell. If you can see dirt or debris easily, or if the wax looks excessive, your cat may need cleaning.
Make ear checks part of your regular routine so your cat gets used to having their ears handled. This makes actual cleaning much easier when needed.
Normal vs. Concerning Signs
Normal, healthy cat ears:
- Light pink color inside
- Small amount of pale or light brown wax
- No odor or very mild smell
- Clean appearance with no discharge
Signs that need attention:
- Dark brown or black debris (often signs of ear mites)
- Red, inflamed, or swollen tissue
- Strong or foul odor
- Excessive wax buildup
- Yellow, green, or bloody discharge
- Your cat scratching their ears frequently
- Head shaking or tilting
- Sensitivity or pain when ears are touched
If you notice any concerning signs, contact your vet before attempting cat ear cleaning at home. These symptoms may indicate infection or other health issues that need professional treatment.
Common Causes of Dirty Ears
Ear mites are the most common cause of dirty ears in cats. These tiny parasites create dark, crumbly debris that looks like coffee grounds. Ear mites in cats are contagious and require veterinary treatment, not just cleaning.
Excess wax production happens naturally in some cats. Cats with large ear canals or those who don’t groom as much may accumulate more wax than others.
Allergies can cause increased wax production and inflammation. Environmental allergies or food sensitivities may show up as ear problems.
Ear infections from bacteria or yeast lead to discharge and debris. These need prescription medication from your vet along with proper ear cleaning for cats.
Identifying and Managing Ear Mite Infestations
Ear mites in cats create specific symptoms that look different from regular ear dirt, and knowing when to seek professional help can prevent serious complications.
Signs of Ear Mites in Cats
Your cat will show clear signs of ear mites if they have an infestation. The most common symptoms include frequent head shaking and intense scratching around the ears, head, and neck.
You’ll notice a dark, crumbly discharge in the ear canal that looks like coffee grounds. This discharge is a mixture of ear wax, blood, and mite waste. Your cat’s ears may also have a strong, unpleasant odor.
The skin around the ears often becomes red and inflamed. Your cat might hold their ears flat against their head or tilt their head to one side. Some cats become irritable or restless due to the constant itching and discomfort.
In severe cases, you may see scratches or scabs around the ear area from excessive scratching. The causes and signs of an ear mite infection can lead to secondary infections if left untreated.
How Ear Mites Differ from Dirty Ears
Regular ear dirt appears as light brown or tan wax that has a smooth texture. Ear mite discharge looks much darker and has a dry, crusty appearance similar to coffee grounds.
Normal ear wax doesn’t cause excessive scratching or head shaking. Your cat will act normally with regular ear dirt. With ear mites, your cat shows constant discomfort and distress.
Key differences include:
- Color: Normal wax is light brown; mite debris is dark brown or black
- Texture: Regular wax is smooth and slightly sticky; mite discharge is dry and crumbly
- Smell: Normal wax has a mild odor; ear mites produce a strong, foul smell
- Behavior: Clean ears don’t bother your cat; ear mites cause constant scratching
You can sometimes see ear mites as tiny white dots moving in the ear canal under bright light, though they’re difficult to spot with the naked eye.
When to Consult a Veterinarian
You should talk to a vet online or schedule an appointment if you notice any symptoms of ear mites. Don’t attempt to treat ear mites without a proper diagnosis.
A veterinarian needs to examine your cat’s ears with an otoscope and take a sample of the ear discharge. They’ll look at the sample under a microscope to confirm the presence of ear mites. This step is important because other conditions can look similar to ear mites.
Your vet will prescribe the right medication based on the severity of the infestation. Treatment typically includes ear drops or topical medications applied directly to the ear canal. Some vets may recommend oral medications or injections for severe cases.
Schedule a follow-up visit to ensure the treatment options worked completely. Ear mites can quickly return if you don’t finish the full treatment course.
Addressing Anxiety and Stress During Ear Care
Many cats feel anxious during ear cleaning because they don’t like being restrained or having their ears touched. Learning specific calming techniques and recognizing when your cat needs professional support can make ear cleaning safer and less stressful for both of you.
Tips for Keeping Cats Calm
Choose a quiet room away from other pets and loud noises for the ear cleaning session. Creating a calm environment helps your cat feel more secure and less defensive.
Pick a time when your cat is naturally relaxed, such as after a meal or play session. Tired cats are less likely to resist handling.
Have someone help you during the cleaning process. One person can hold the cat gently while the other handles the actual ear cleaning, making the job faster and safer.
Speak softly and move slowly throughout the process. Quick movements and loud voices trigger fear responses in cats. If your cat starts struggling or showing signs of panic, stop immediately and give them a break.
Wrap anxious cats loosely in a towel, leaving only the head exposed. This technique helps some cats feel more secure without causing additional stress.
Using Positive Reinforcement
Give your cat small treats before, during, and after cat ear cleaning to create positive associations with the experience. High-value treats like tuna or chicken work better than regular kibble.
Start by simply touching your cat’s ears without actually cleaning them. Reward this tolerance with treats and praise. Gradually work up to lifting the ear flap, then introducing the cleaning solution over several sessions.
Keep training sessions short at first. Even 30 seconds of cooperation deserves a reward when you’re building tolerance.
Use a calm, happy voice during the entire process. Your tone communicates that nothing scary is happening. Pair specific praise words like “good” or “yes” with treats so your cat learns what behavior you want.
Let your cat smell the ear cleaning supplies before using them. This reduces fear of unfamiliar objects and scents.
When to Seek Professional Help
Contact your veterinarian if your cat shows extreme fear or aggression during ear cleaning attempts. Fighting through severe anxiety can damage your relationship with your cat and cause injuries.
Talk to a vet online or schedule an in-person visit if you notice redness, swelling, discharge, or strong odors in your cat’s ears. These signs indicate possible infections that need medical treatment, not just cleaning.
Some cats require sedation for safe ear cleaning, especially those with painful ear conditions. Your vet can perform the cleaning while your cat is calm and pain-free.
Professional groomers trained in cat handling can also help with routine ear cleaning if your cat tolerates strangers better than owner restraint.
When to Involve a Veterinarian
Some ear problems need professional help instead of home cleaning. Cats can develop infections or injuries that require a vet’s diagnosis and treatment, and sometimes professional cleaning is safer than doing it yourself.
Indicators of Infection or Injury
You should stop cleaning and contact your vet if you notice certain warning signs. A strong, unpleasant odor coming from your cat’s ears often means an infection is present. Dark brown or black discharge that looks like coffee grounds can indicate ear mites.
Red, swollen, or hot ear tissue needs veterinary attention. If your cat shows pain when you touch their ears or shakes their head constantly, something is wrong. Yellow or green discharge usually signals a bacterial infection that needs medication.
Stop cleaning if your cat appears to be in pain during the process. Bleeding from the ear canal or visible wounds require immediate professional care. Cats with balance problems or who tilt their head to one side may have a serious ear condition affecting their inner ear.
The Benefits of Professional Ear Cleaning
Veterinarians have special tools and training to clean ears safely. They can see deeper into the ear canal than you can at home. A vet can remove stubborn debris without damaging delicate ear structures.
Professional cleaning works better for cats with severe wax buildup or chronic ear problems. Your vet uses a vet-approved ear cleaner designed for your cat’s specific condition. They can also apply medication directly where it’s needed after cleaning.
Cats with ear infections need their ears cleaned before medication is applied. A vet can teach you the proper technique if you need to clean your cat’s ears regularly at home.
Online Veterinary Consultation Options
You can talk to a vet online when you’re unsure about your cat’s ear health. Services like PangoVet connect you with licensed veterinarians through video calls or chat. These consultations help you decide if your cat needs an in-person visit.
Online vets can look at photos of your cat’s ears and give advice about cleaning products. They cannot prescribe medication without examining your cat in person. Virtual visits cost less than office visits and provide quick answers to basic questions.
Use online consultations for mild concerns or questions about cat ear cleaning techniques. Schedule an in-person appointment if your cat has obvious signs of infection or injury.
Frequently Asked Questions
Most cats need ear cleaning only when wax builds up or problems appear, and the safest approach uses vet-approved cleaners designed specifically for feline ears.
How often should I clean my cat’s ears?
Many cats don’t need their ears cleaned regularly if they’re healthy. You should only clean your cat’s ears when you notice wax buildup, dirt, or discharge.
Check your cat’s ears weekly during regular grooming sessions. Healthy ears appear pink with minimal wax and no odor.
If your cat has chronic ear issues or produces excess wax, your vet may recommend monthly cleanings. Cleaning too often can irritate the ear canal and cause more problems than it solves.
What is the safest vet-approved ear cleaner to use for cats?
You should only use ear cleaning products specifically designed for cats. These cleaners are formulated to match the pH level of feline ears and won’t cause irritation.
Look for cleaners that contain ingredients like squalene, aloe vera, or witch hazel. Avoid products with hydrogen peroxide, alcohol, or vinegar as these can damage the delicate ear tissue.
Your vet can recommend specific brands that work best for your cat’s needs. Never use human ear drops or cleaners meant for dogs.
Can I clean my cat’s ears with only water, and when is that not recommended?
Plain water is not effective for cleaning cat ears because it doesn’t break down wax or debris. Water can also get trapped in the ear canal and create moisture that leads to infections.
You should never use water alone if your cat has any signs of infection, excessive wax, or ear mites. These conditions require proper ear cleaning solutions to remove buildup effectively.
Water also lacks the drying agents found in proper ear cleaners. This means moisture stays in the ear longer than it should.
How can I clean my cat’s ears if I don’t have a commercial ear-cleaning solution?
You should not attempt to clean your cat’s ears without a proper cleaning solution. Homemade mixtures can cause irritation, pain, or damage to the ear canal.
If you notice your cat needs ear cleaning and don’t have a commercial product, schedule a vet visit instead. The vet can clean the ears safely and provide you with the right products.
Waiting a few days for proper supplies is better than risking injury to your cat’s ears. Do not use household items like soap, oil, or rubbing alcohol.
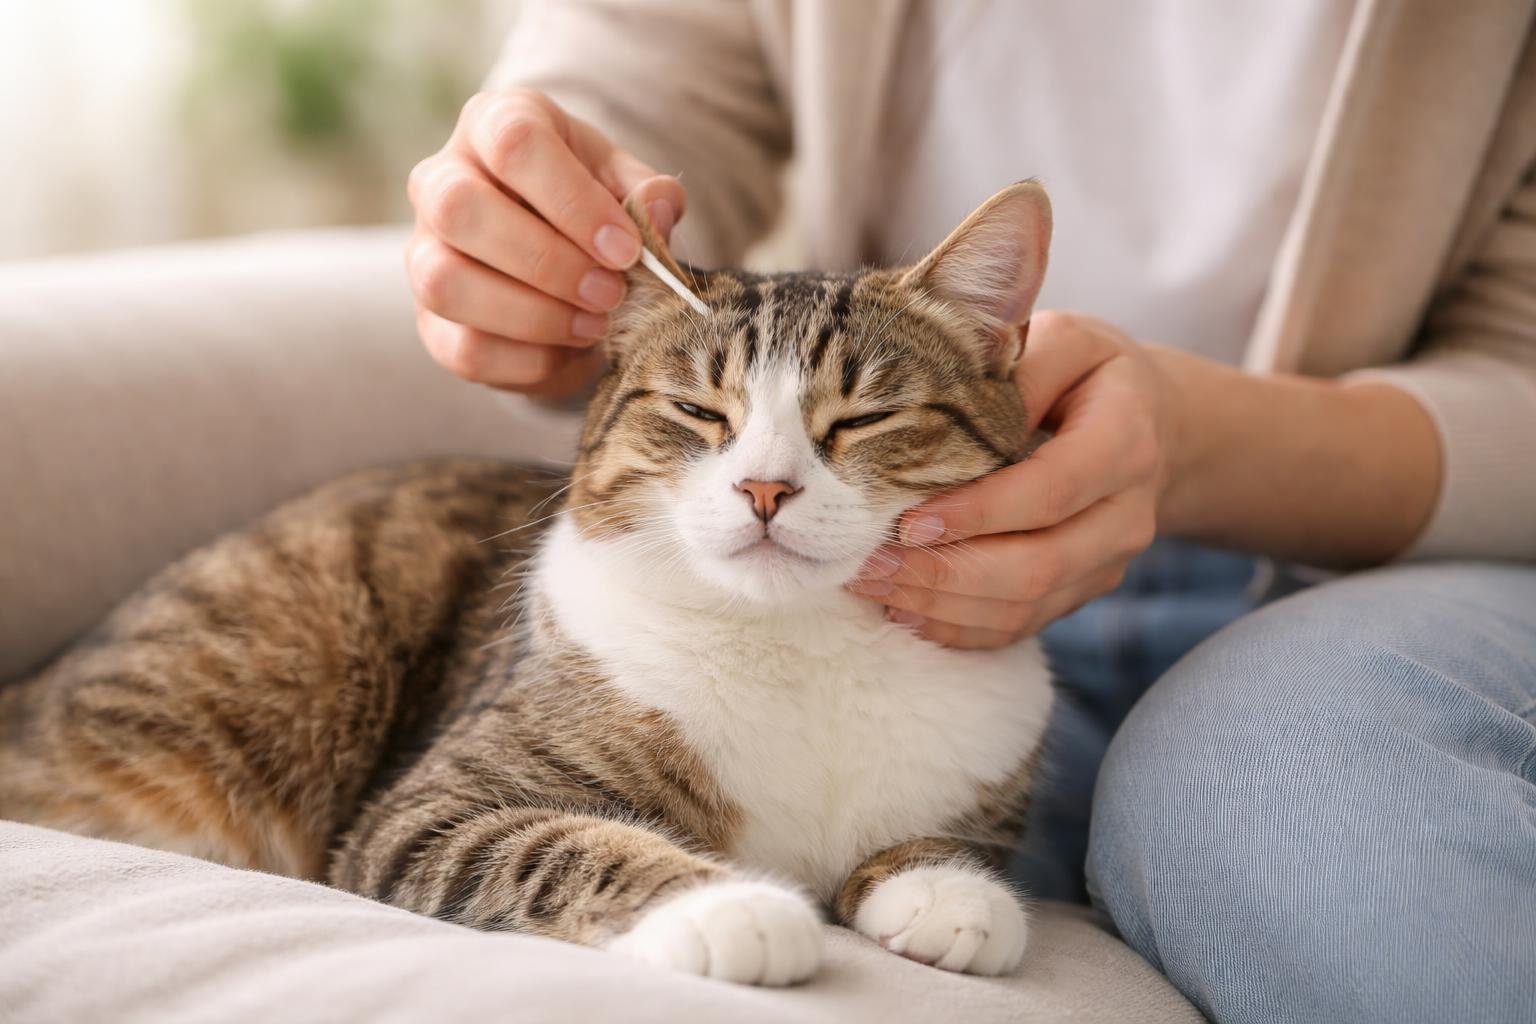
What are the most common mistakes people make when cleaning a cat’s ears?
Using cotton swabs or Q-tips inside the ear canal is one of the biggest mistakes. These tools can push debris deeper into the ear or damage the eardrum.
Many people also use too much force when cleaning. You should only wipe the outer ear and visible parts of the ear canal gently.
Cleaning ears too frequently irritates the tissue and strips away protective wax. Other common errors include using products not designed for cats and attempting to clean ears when an infection is present.
Skipping the step of having a helper to hold the cat often leads to injury for both you and your pet. Never try to restrain a struggling cat by yourself during ear cleaning.
How do I remove brown debris from my cat’s ears, and when could it indicate ear mites?
Brown debris that looks like coffee grounds is often a sign of ear mites. You should apply ear cleaning solution to a cotton ball or gauze and gently wipe the outer ear to remove visible debris.
Never dig into the ear canal to remove buildup. The cleaning solution will help loosen debris when you massage the base of the ear.
If the brown material keeps coming back quickly or your cat scratches excessively, ear mites are likely the cause. Ear mites require veterinary treatment with prescription medication, not just cleaning.
Other signs of ear mites include a dark waxy discharge, strong odor, and head shaking. Schedule a vet appointment if you suspect mites rather than trying to treat them yourself.